PPR Pipe Welding & Installation Guide: Temperature, Time & Mistakes
PPR is installed by socket heat-fusion at about 260 °C — and most joint failures are not material failures but installer mistakes on temperature, time or geometry. This guide covers the fusion window, the diameter-by-diameter heating times, the four mistakes that cause most leaks, and the pressure test to run before you close a wall.
Good PPR pipe installation comes down to two numbers: the fusion temperature and the heating time for each diameter. Get the heat around 260°C and hold each joint for the right few seconds, and the pipe and fitting melt into one solid piece that outlives the building. Rush it or cook it, and you build in a leak that shows up months later, buried in a wall.
The mistake that surprises most new installers: overheating is worse than underheating. Holding the pipe on the iron "a little longer to be safe" carbonizes the plastic, weakens the joint, and creates a weld that looks fine but fails under pressure. More heat is not more safety — precise heat is.

Key Takeaways
- Fusion temperature is ~260°C (±5–10°C), per ISO 15874 and ASTM F2389.
- Heating time scales with diameter: DN20 ≈ 5s, DN25 ≈ 7s, and longer for bigger pipe — follow your welding tool's chart.
- Overheating carbonizes the joint and is more damaging than underheating. Don't add "safety" seconds.
- Push straight, never twist when inserting the pipe into the fitting — twisting shears the molten layer.
- Hold still while it cools. Don't stress or move the joint until it has set.
- Pressure-test the finished system at 1.5× working pressure for ≥30 minutes before closing walls.
The Two Numbers: Temperature and Time
Socket fusion works by melting the outside of the pipe and the inside of the fitting at the same time, then pushing them together so the molten plastic becomes one mass. The temperature is fixed; the time changes with the pipe size.
Temperature: hold ~260°C
Set the welding iron to about 260°C, within roughly 5–10°C. This is the range specified by ISO 15874 for polypropylene systems and mirrored in ASTM F2389. Let the iron reach temperature fully before the first joint — a cold iron under-melts and a hot spot over-melts.
Heating time by diameter
Bigger pipe needs more seconds on the iron. The values below are typical socket-fusion times — always check them against the chart printed on your welding machine or in the fitting standard, and adjust for cold ambient conditions, which need a touch longer.
| Diameter | Heating time (approx.) | Note |
|---|---|---|
| DN20 | ~5 seconds | Standard reference value |
| DN25 | ~7 seconds | Standard reference value |
| DN32 and up | Longer, rising with size | Follow the tool / standard chart |
Step by Step: A Clean Fused Joint
The sequence matters as much as the numbers. Each step prevents a specific failure.
- Cut square and deburr: a clean, perpendicular cut lets the pipe seat fully. A ragged or angled cut leaves a gap that never fuses.
- Mark the insertion depth: mark how far the pipe should enter the fitting so you push it all the way — not too shallow (weak) or too deep (blocked bore).
- Heat both at once: slide pipe and fitting onto the iron's socket and spigot at the same time, and hold for the time for that diameter — no more.
- Push straight, don't twist: pull both off the iron and press the pipe into the fitting in one straight motion to the mark. Twisting shears the melted layer and ruins the bond.
- Hold, then leave it: hold steady for a few seconds, then let it cool undisturbed. Moving or stressing a warm joint deforms the weld.
The Mistakes That Cause Leaks
A carbonized, overheated joint often looks the same as a good one from the outside. That's why overheating is dangerous — the failure is invisible until the system is under pressure.
- Overheating: too many seconds on the iron carbonizes the plastic and forms a brittle, weak joint. This is the single most common durability mistake.
- Underheating: too few seconds leaves the surfaces incompletely melted, so they never truly fuse and the joint pulls apart under load.
- Twisting on insertion: rotating the pipe as you push it in tears the molten layer, creating a weak, uneven bond.
- Moving it while it cools: stressing the joint before it sets deforms the weld and can open a hairline path.
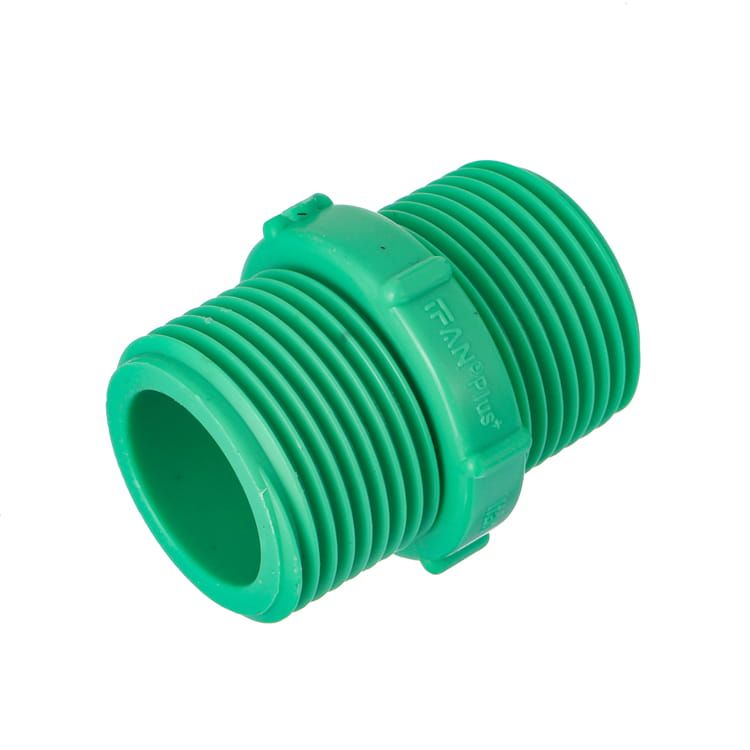
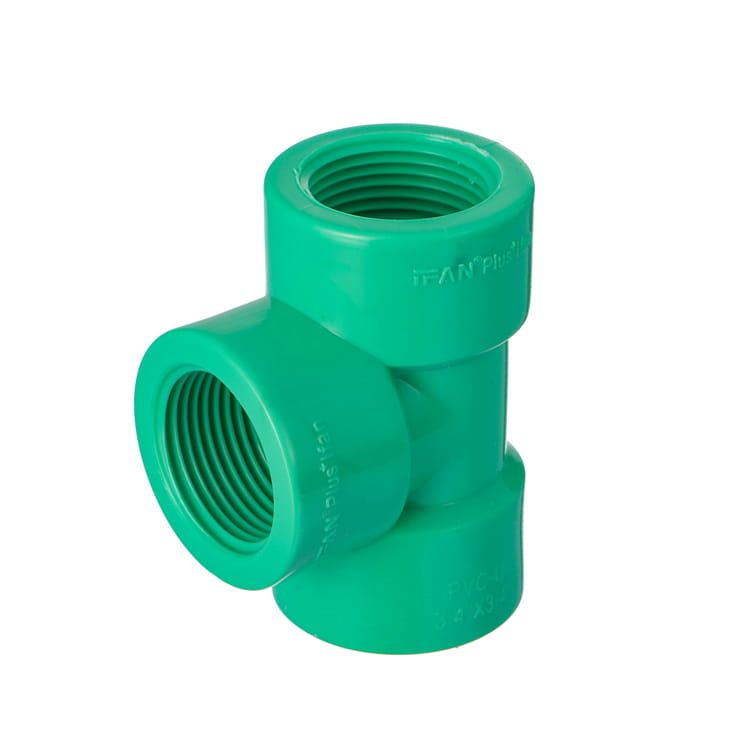
- Mismatched material or wall: welding pipe and fitting of different grades or S-series never fuses cleanly, covered in the PPR fittings guide.
Pressure-Test Before You Close the Wall
A weld that looks perfect can still hide a fault, so never trust the eye alone. Pressure-test the finished system before it disappears behind tile or plaster.
The standard hydrostatic test runs at 1.5 times the working pressure and holds for at least 30 minutes; a pressure drop points to a weak joint you can still reach. This is also where the pipe's pressure class matters — matching PN to the system is set out in the PPR pipe sizes and pressure chart. Find the fault now, not after the wall is finished.
Conclusion
PPR installation is forgiving when you respect the two numbers and unforgiving when you don't. Hold ~260°C, use the right heating time for each diameter, push straight without twisting, let it cool undisturbed, and pressure-test before closing the wall. Those habits turn socket fusion into the most reliable joint in plumbing.
Consistent welds also depend on consistent material — pipe and fittings that melt the same way every time. Start from a matched, single-grade supply and the technique above does the rest.
Frequently Asked Questions
What temperature should I weld PPR pipe at?
Around 260°C, within roughly 5–10°C, as specified by ISO 15874 and ASTM F2389. Let the welding iron reach full temperature before the first joint.
How long do you heat PPR pipe for fusion?
Heating time rises with diameter — about 5 seconds for DN20 and 7 seconds for DN25, longer for bigger pipe. Always follow the chart on your welding machine and add a little in cold conditions.
Can you overheat a PPR joint?
Yes, and it's the most common mistake. Too much heat carbonizes the plastic and forms a brittle joint that looks fine but fails under pressure. Use the exact time for the diameter, not extra "safety" seconds.
Why should you not twist a PPR joint when inserting?
Twisting shears the molten layer between pipe and fitting, leaving a weak, uneven bond. Push the pipe straight in to the marked depth in one motion, then hold it still.
How do I pressure-test a PPR system?
Run a hydrostatic test at 1.5 times the working pressure for at least 30 minutes before closing walls. A pressure drop indicates a weak joint you can still reach and repair.
Related Briefings
The Complete Guide to PVC Drainage Pipe (uPVC): Sizes, DWV Design, Sewer Sourcing & Installation
PVC Drainage Pipe Installation: Solvent Welding, Joint Testing & Common Failures